I have got to stop promising to post things “later” in the day in my posts. Sometimes the day just gets away from you and things come up. I know I promised this yesterday, but we got super busy after we worked on the yard and didn’t get back home until late in the evening and then an unexpected guest stopped by…. so excuses aside, here we go…
Miranda asked about partial embossing with the fold on the left, instead of at the top as I have shown on this post and this post. This is showing partial embossing on the card base. You can always partial emboss on a card front that you adhere to the card base, too.
1.) Determine where you want the fold of your card and how much you want to emboss on the front of the card.
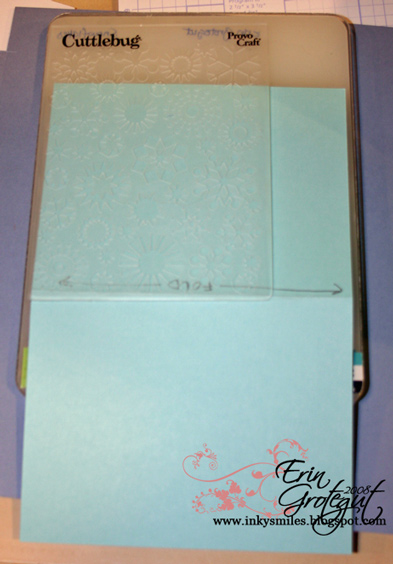
2.) Line up the folder so that it covers the area that you want to emboss. Set on the plates and run through your Cuttlebug. In this example I am partial embossing from the top of my card and tucked the back of the card around the outside of the embossing folder.


3.) In this example I am partial embossing from the side of the card and left the card open and unfolded.

It’s really super simple and basically, you can partial emboss anywhere on a card as long as the embossing folder and the paper you’re embossing can fit in the space of the Cuttlebug plates.
