
Gelatin + Acrylic Paint + Paper = ART!
We’re slowing getting settled in to our new home here in Colorado. I haven’t crafted in quite some time…. in fact, nearly every craft supply or tool I own is still packed away neatly in boxes… BUT, earlier this week end of last week I did dig my desk out from under the chaos of boxes and furniture that is currently occupying my future craft room. We figured out some good configurations for workstations and are deciding on color for the walls. Brent even cut down my desk top with his skill saw, right there IN my studio on the carpet. LOL! What a mess, but hey… progress, right? Thank goodness for vacuums and I am sure that floor is going to see worse than sawdust… 🙂
So anyway…. today (technically last Friday, since I’m a slacker butt and didn’t finish this post when I started it) I got to do some MESSY art with my friend, Erica Michel, who drove down from FoCo {Fort Collins} to play …
Here’s Erica and her pooch, Major. He came to play, too. He thinks he’s a lapdog. I love that.
Erica introduced me to a new messy but fun technique: Monotype Printing on a gelatin “plate”.
Monoprinting? What’s that??
”Monoprinting is a form of printmaking that has images or lines that can only be made once, unlike most printmaking, where there are multiple originals” ~ From Wikipedia.
So there’s a product on the market by Gelli Arts, called a Gelli plate. It’s a rubbery feeling thing that you can paint on and print with, withOUT a second plate or press!
Erica ordered one, but was anxious to try out monoprinting on gelatin (hers had not arrived yet), so she did some google’ing and found a recipe for making a homemade (but biodegradable) gelatin plate. You will want to make it the night prior or several hours prior to playing…
Here’s the recipe she found on YouTube (Linda Germain):
12 Tablespoons Knox Gelatin
3 cups cold water
3 cups boiling waterDirections: Dissolve gelatin in COLD water in a bowl, stir until all gelatin is dissolved. Slowly stir in BOILING water and stir with a whisk. It may or may not be foamy… skim off the foam with a piece of thin cardboard or heavy cardstock. Pour into a large baking sheet or 9×13 pan (it will be very thick in a 9×13). Skim off any bubbles with a piece of paper. Put in the fridge (make sure it is level) and let cool until solid.
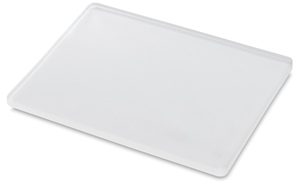
Flip out onto a non stick mat onto a solid surface.
FLIP IT, Flip it good…
Here’s a step by step for flipping your mat… you don’t want to just dump it or it will become a big nasty mess…. You will need: your gelatin goo mat, some type of nonstick craft mat (I used my Tupperware baking sheet), and a sheet pan or other hard thing to catch the mat. I used a sheet pan because it nested nicely right inside the pan that I made the gelatin mat in.
{Notice the “lake” looking bit on my gelatin mat? Well, that was because I followed the original instructions and put some silly plastic wrap over it in the fridge. This stuff sets up FAST… skip the plastic wrap… Erica did and hers turned out purtier… }
Carefully loosen the edges by cutting with a knife, or a paint spatula like me because I was too lazy to walk the 6 steps to the kitchen behind me and get a knife. I can justify my laziness with my klutziness… plastic spatulas are safer for me. 🙂

Lay your non stick mat on top of your gelatin mat.

Set your extra pan or hard surface thing on your mat and prepare to flip it…
When some gelli comes along, you must flip it!
Dump that baby right out… lift the top pan (the one you made the gelatin mat in) up and the gelatin mat SHOULD just slide right out of the pan.
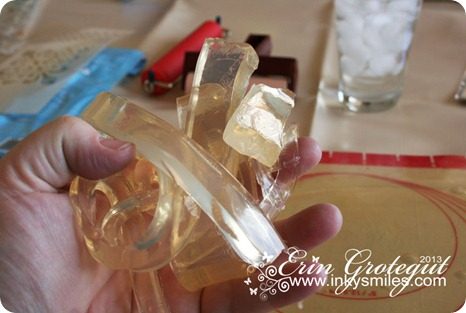
You may want to trim up the edges. See the photo above? Top right corner… not good. A crack like that will just spread as you use the mat. Cut if off.. with your plastic spatula… and feel free to play with the excess…
Yes, like a 3rd grade boy… you know you want to… Squish it, squish it good…
There ya go.. Mat is prepped and you’re ready to get messy.
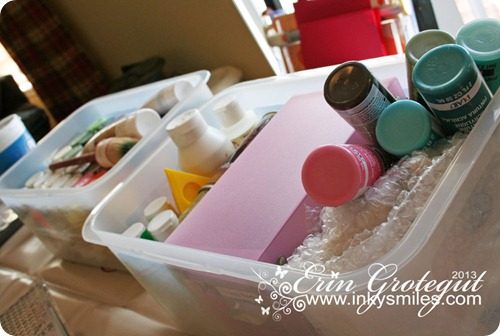
You will need (see top pic cuz I am too lazy to post it here again, haha):
- a gelatin mat
- some stencils (any kind – paper, plastic, whatever)
- texture thangs… (bubble wrap, sponges, leaves, whatever)
- a brayer or two
- a spraybottle filled with water
- some paper towels
- a nearby garbage can
- something to cover your workspace (if you care about it getting completely filthy)
- and some PAINT, LOTS of paint, the cheap acrylic kind works GREAT
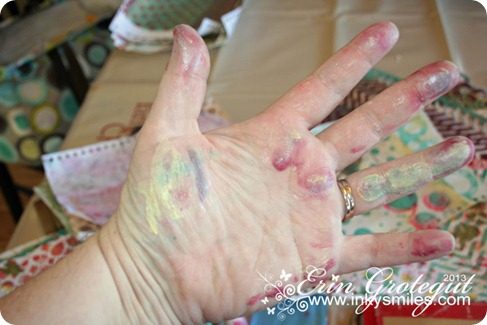
Let’s PLAY! I’m just going to show a basic, simple monoprint.. I was having too much fun playing (that I forgot to keep taking pics) and my hands were so covered in paint that I did not want to touch my camera…
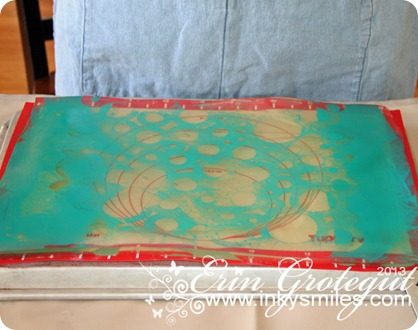
The first thing you want to do is drop a couple of blobs of paint onto your gel mat. Any colors or mixtures will do. Here I’ve globbed some tealy blue and a metallic limey green onto my mat.
Then roll it out with your brayer. Don’t smash the paint into the mat… you could damage/rip/shred your gelatin mat and then the fun would be over.
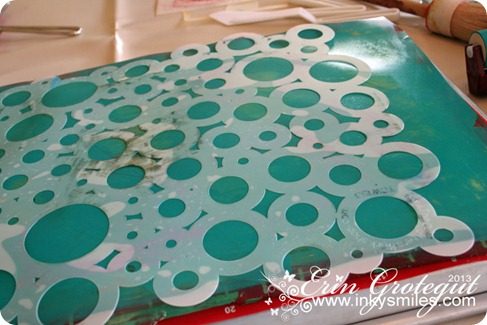
Once your paint is sufficiently spread out, you can lay down a stencil, or pounce some texture onto the paint… We used a really cool plastic stencil for this one.
Next, lay your paper on the paint… here is where we become our own “press”. This is a cheap sketch book paper.. nothing fancy. It’s thin, but that’s ok, the paint adds thickness as it dries.. Just press that paper onto the stencil and pick up the paint. You can also use a brayer and roll it across the paint. I was lazy. I smooshed with my hands. It’s all good.

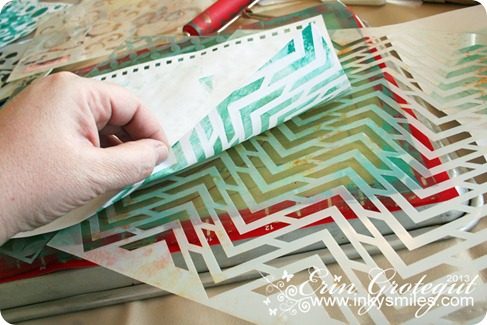
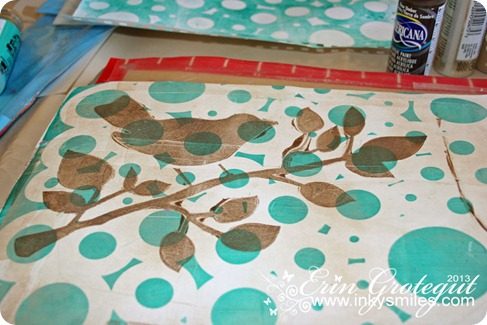
And peel that paper up… OOOOH LA LA! We have made a monoprint… I LOVE the shimmer of the green mixed with the tealy blue… love it…. LOVE IT!
And this is what you end up with….one excited lady and a shiney design!
This is what will be left on your gelatin mat…. OOOH! I could use that for SOMETHING!!!
Why YES, I do believe I know what I will do with this leftover paint… hrmmm.. Let’s pick it up with the original print we made… this stuff dries SUPER fast, so you don’t have to worry too much about “schmutzing” it up too badly… Just lay that baby back down on the gelatin mat and pick up some more paint.

This is where I will attack it with a brayer…
Since the stencil was stuck there originally some of the paint came up when we removed the stencil which will give this layer a “grungy” look.

OH! Don’t forget… there’s still paint on the stencil, too! Let’s just spritz it with some water to re-wet the paint a little… and use the brayer for this bit…
VOILA! I will use this little beauty later for something awesome.
So there you have it, kids… mono printing on a gelatin mat. Loads of fun, loads of mess, loads of color…
A few helpful tips:
** Be GENTLE… the mat WILL rip and tear. Ask me how I know.
Cleaning:
In between coats of paint you CAN clean it if you want to… I did, Erica didn’t, and then I stopped after a while because it was too time consuming. LOL!To clean off the gelatin mat surface just spritz with water and use a paper towel to GENTLY wipe the paint off.
Paints:
ONLY use a water based paint. Anything else will either eat or ruin your mat.Sizing:
You may cut your gelatin mat to ANY size you need. If you’re doing this with kids (which, by the way, is a FABULOUS idea… just supervise) you can cut the mats down to 6×6 or 5×5, etc. One sheet cake pan can be cut in half for two pretty close to standard paper size mats.Pets & Small Children:
They will try to eat the gelatin mat. I don’t think that’s a great idea… Sadie tried licking my pan clean so I had to move it out of her reach. This is not “Jello”…Textures and Whatnot:
You don’t have to just use stencils. You can use a soft rubber tipped paintbrush or a rubber eraser on the end of a pencil, or a q tip, or other soft “pen” to draw OFF the paint and doodle on the mat. You can also use things such as leaves and bubble wrap, crumpled paper, yarn, twigs, or other fun found objects to create texture and patterns on your gelatin mat. Use your imagination and go wild!
Here are some more fun snap shots from the day.
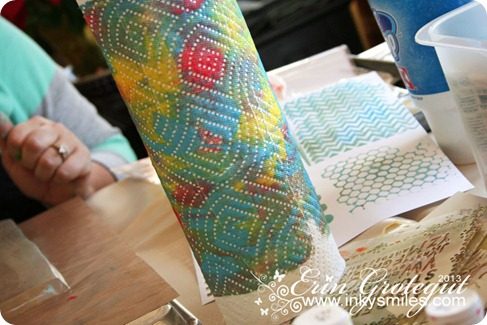
Erica made this AWESOME print… She put globs of paint on her gelatin mat, brayered it, and then rolled a paper towel roll in the paint to pick up a little paint and leave some texture on the mat…
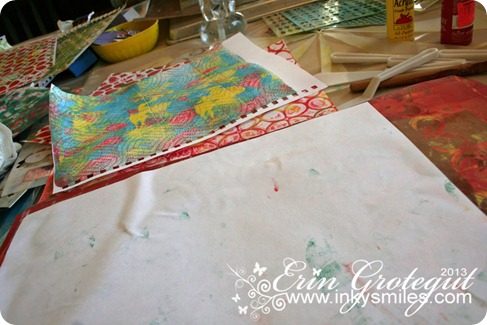
I think this one is the favorite of the ones I made. Lots and lots of layers and colors… I globbed some white Gesso in a puddle on my mat and used a paint bottle bum to pick up some paint and make funky circles all over the page.
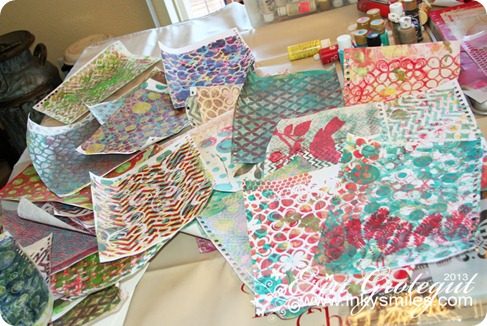
We had soooo much fun! Here’s our pile of lovelies…
“What will you do with them?” you ask… Well, they will likely become bits and pieces in other art projects like art journals, collages, maybe a card or two…
Thanks for popping by! I hope you enjoyed this post.. and if you make some gelatin monoprints please be sure to share pics and link to your post in the comments!
Inky Smiles!
Erin
PS… while I was editing these pics and writing this post Brent unpacked and put away 7 boxes of books ! Woot! We’re making progress 🙂
PPS… the homemade gelatin mat is a one time use … most likely…
Looks like I need to be ordering a Gelli plate by GelliArts here sooooon!
PPPS. Check out YouTube and search for Linda Germain for some pretty awesome ideas for more gelatin printmaking!














6 thoughts on “Gelatin + Acrylic Paint + Paper = ART!”
Looks like you ladies had a TON of fun!!
Oh wow, Erin! You and Erica sure had some fun! I enjoyed reading through your terrific post and paying attention to the background in your pictures so I could see some of the changes you've made in the house. Love your new microwave and stove (from what I could see) and the little cut out on the opposite side of the kitchen.
I've been wondering how you were doing and here I see you've been just fine and having some great fun! Yay!
Thanks for sharing!
Very intriguing. Can't wait to see your final designs!
Ok, that looks like way too much fun. Very cool. Thanks for sharing!
I love the Gelli Plate, I seen it one of my Art Journaling groups that a fellow art journalist did many prints that were published in an album on Gelli Arts FB. I love playing with textures (now that I'm learning to art journal & lurv it so much)- that I thought, what a really kewl idea to have my own prints to play with. I have yet to have a go at it & love the idea of making my own (can do this with my lil' one). What an awesome post & lovely to see it.
I'm happy your getting settled in, I can only imagine the process you've gone through. Thanks so much for sharing. HUGS xx
I looked at this the other day on my phone and was giddy. Wow! looks so much better on the big screen PC 🙂 It looks so fun and I love all of the papers you created! I really need to work on some projects. My church calling keeps me so busy on my non working hours I've have to choose only a couple of things to get done…. I need to manage my time better 🙂