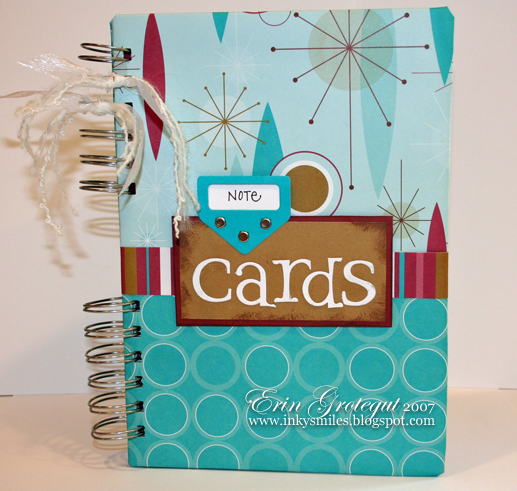
Card Organizer -Made With Bind It All Machine
 World Card Making Day is tomorrow, October 6th. I haven’t really been in the mood (ie had a whole lot of/any time) to make cards this week, but I saw an organizer like this on the blog of a fellow SCS girl. I just HAD to make one!!
Here’s my note card organizer & a “tutorial”. I made this very quickly this morning and part of last evening with some leftover paper from a CTMH Level 2 Kit: Just Chillin a 1″ Owire from BIA and some pieces of leftover mat board.
(Click on any photo for a larger view.)
Based on my example, you will need: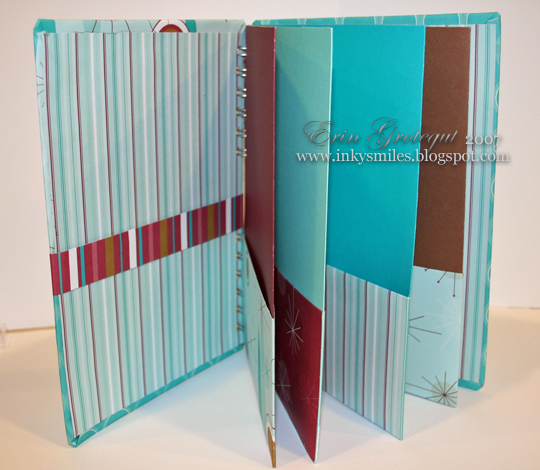
BIA Machine
Adhesive
* 4 pieces 12×12 cardstock
* 5-6 pieces of 12×12 patterned paper
* 1 – 12″ length of 1″ dia. OWire from Zutter (You will use 6.5″.)
* 2 pieces of 6 1/4″ x 8 3/4″ Chipboard or Matboard
* Miscellaneous ribbons, embellishements and extra CS to decorate the cover and/or insides.
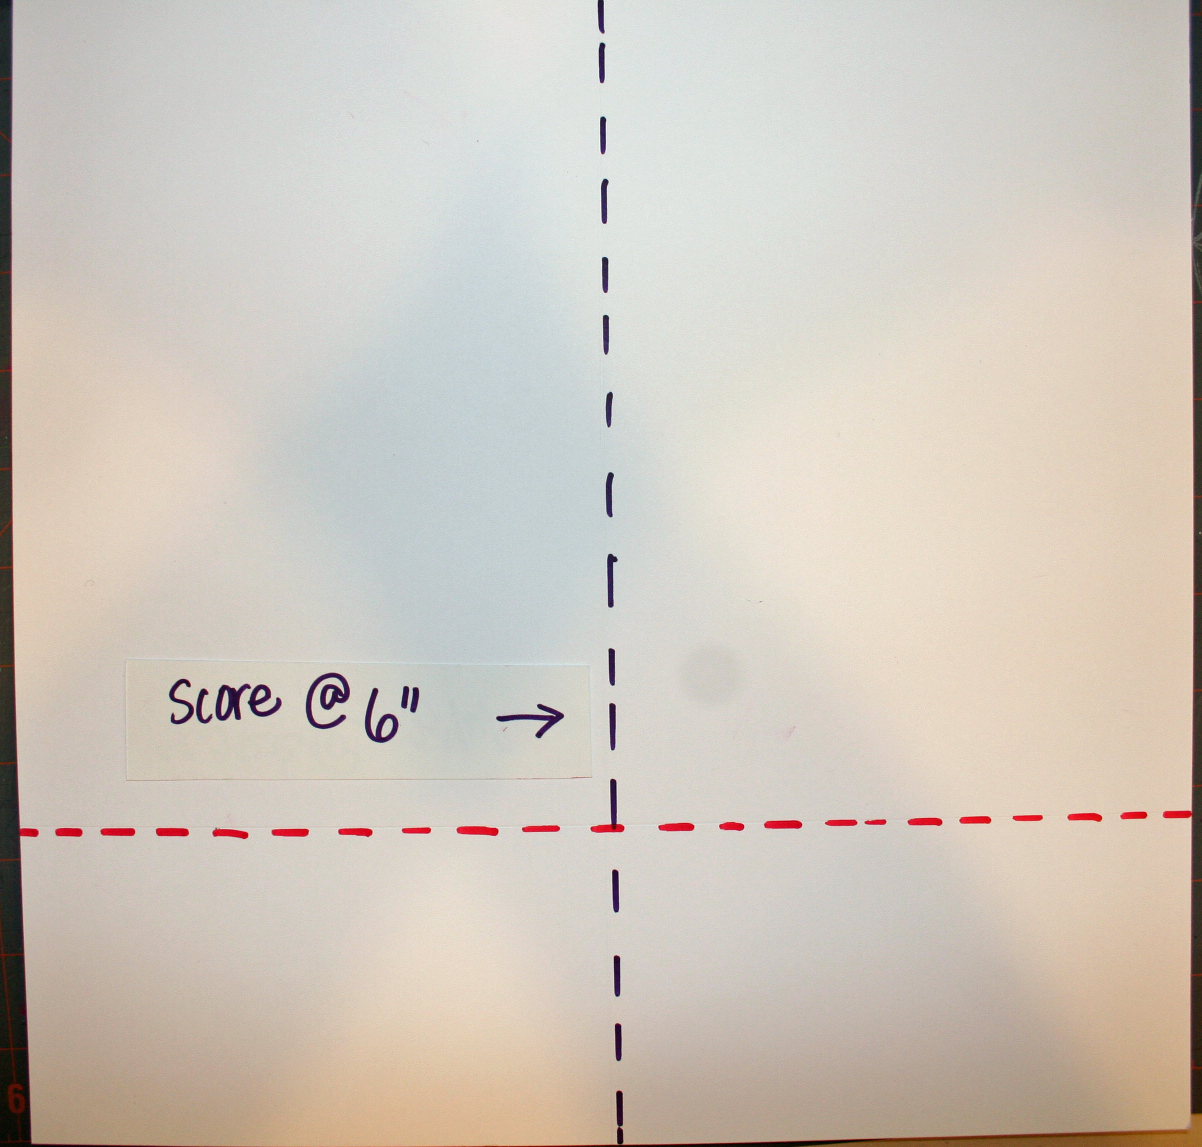
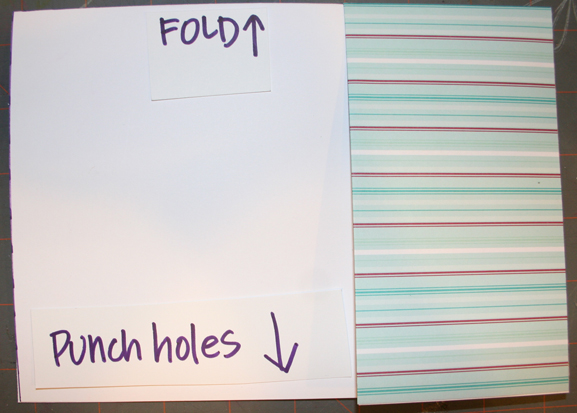
Step 1 – Score at 3 1/4″ Step 2 -Score at 6″ Step 3 – Cut off 1/4″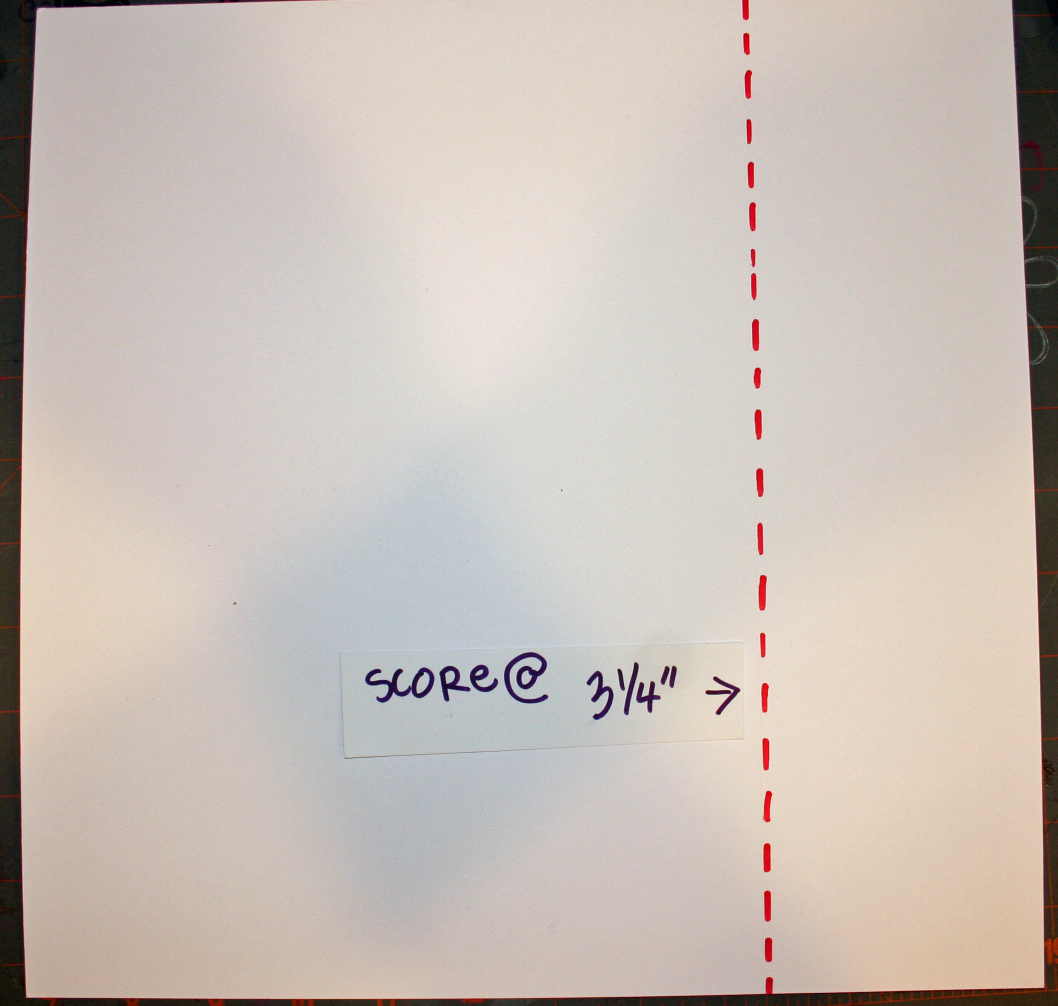 **
**  **
** 
Repeat this on each of your 4 pieces of cardstock and then:
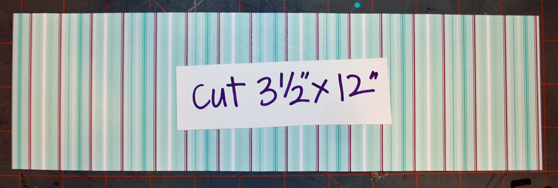
Step 4 – Cut 4 – 3 1/2×12″ strips of pattern paper to coordinate with your cardstock. – Adhere to the front of the folded up flap as shown in the picture and fold excess over the top. This gives the edge a cleaner look and decreases the likelyhood of you snagging the paper when removing or adding cards to the pocket.  **
** **
**

Step 5 Cover your chipboard or matboard pieces with patterned paper and decorate as you see fit. I wrapped my covers and added a bookplate type covering on the insides. You can see this in the left photo. This photo also shows the finished measurements of the covers and pocket pages.
Step 6 – We’re ready to punch some holes!
– Set up your Bind It All – make sure the extension arm is pulled out.
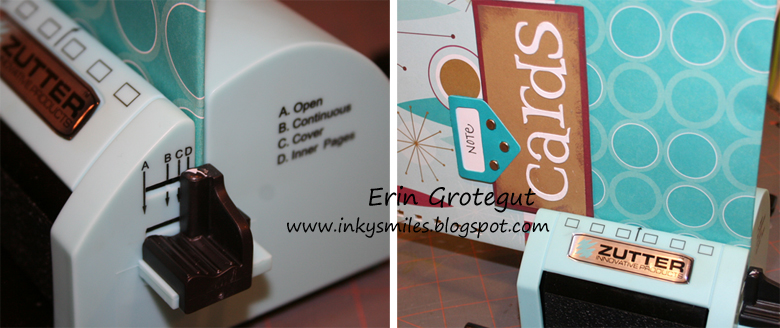 – Set your paper stop guide to C for the cover.
Align the cover in the BIA and press handle, flip the cover over and do the other side.
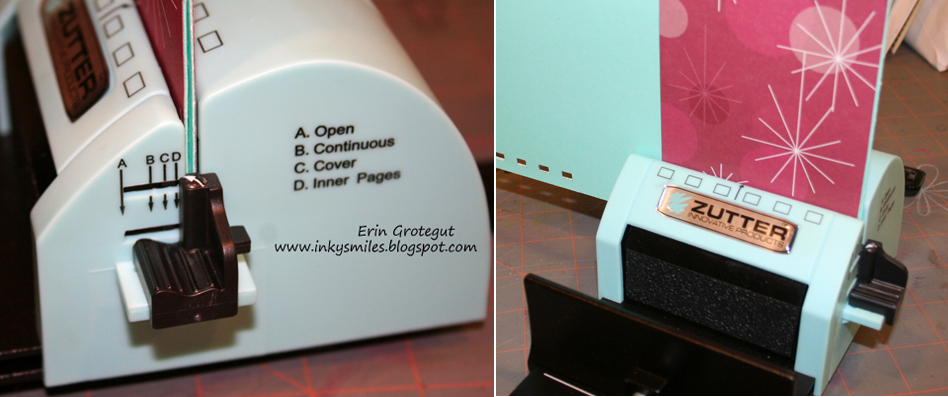
– Set your paper stop guide to D for the inner pages.
– Align the inner pages in the BIA and press handle, flip over and do the other side. DO NOT PUNCH THE FOLDED SIDE!

Step 7 – Bind your book!
– Select the Owire that matches your book and snip off the appropriate length. For my book, I used 6 rings on each length (6 holes).
– Face your covers to each other and load on the OWire.
 **
**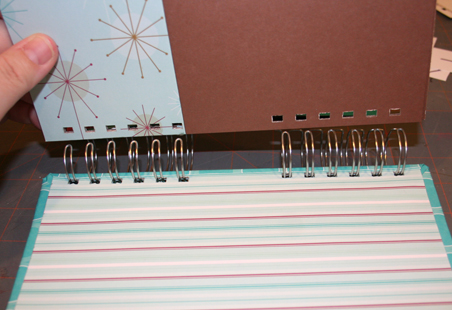


– Set your dial on the BIA machine to 1″ and place the wires and book in the machine and press
the handle. Be gentle, don’t smash the wires.
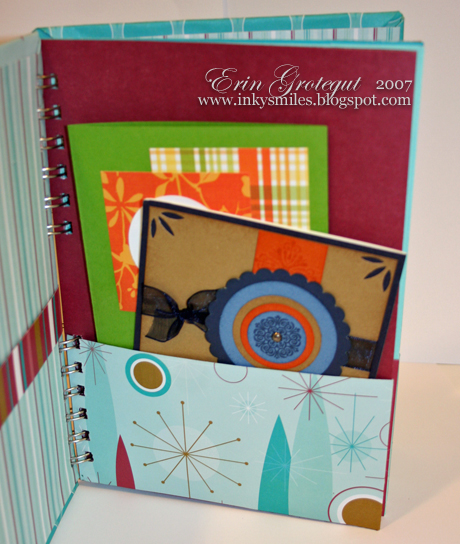
VOILA!! Tie some ribbon on those wires, load it up with the cards you’ve made and you’re done!
(thank you for the idea – Lisa S @ Splendiforous Creations!)
14 thoughts on “Card Organizer -Made With Bind It All Machine”
Oh my goodness EEEEEE!!!! i have to make one now!!!btw– love my BIA!!!!!AAAAAAAAAAAAAAAAAA!
What a great card organizer & tutorial. Thanks so much for sharing this with us.
Thanks for the tutorial! I’m goiong to have to make one of these.
So stankin cute!Wish I could print it off to take to the Retreat!
love this…you have inspired me to break out the bind it all!!hugs,Holly
so cool!!!! love the book!!!
I love how you did this….I have “hinted” to DH I would love for Santa to bring me a BIA!!If your ever in the neighborhood, visit my blog…this is my alltime favorite paper, have a few projects I have done with it!http://raggedydayz.blogspot.com/
WOW this is so awesome!!! I am totally going to make one – your instructions rock!
This is WAYYYY cool! I wish I Had a binder…maybe Santa will bring me one 🙂 hehe
i hope you read this… i made my own one… here you can have a look Hugs Finja
Ima try this one too! 🙂
love psychic
Nice post! Very useful and resourceful.
love psychic readings
Creative and chic! My friends will surely love this.
love psychic readings
Thank you for posting this wonderful tutorial, I am planning to create but I will be using plastic rings. Do you think they create the same beauty?