Multi Fold {Flip, Flap, Fold} Card Tutorial
As promised, here’s the tutorial for the Multi Fold Card I posted with the Sketch Challenge….
(aka Flip, Flap, Fold Card)by Erin Grotegut 2008
web: www.inkysmiles.blogspot.com

Materials Needed:
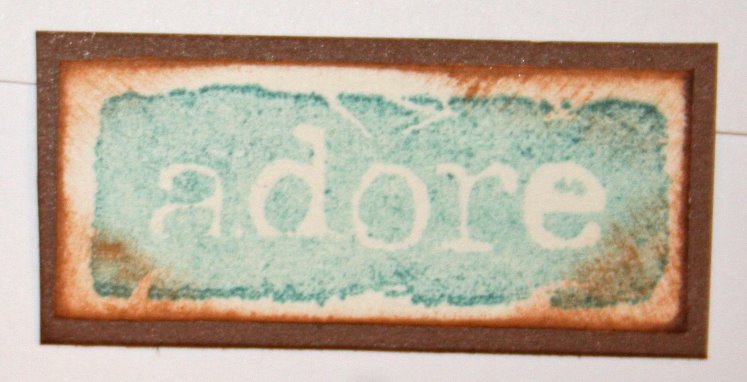
• 2 pieces of coordinating patterned paper (I used My Mind’s Eye- Adore)
• Coordinating solid cardstock (1 dark and a couple of lights)
• Nesting circle dies (I used Quickutz) and a die cut machine (I used Cuttlebug)
• Glitter, glitter glue or other sparkly embellishments
• 1 Photo clip with brad, 4 regular brads, 1 Jumbo Brad, 11” grosgrain ribbon
• Adhesive tape, craft glue
• Crop O Dile
Instructions:
1. Cut your CS #1 4.25 x 8”
2. Score at 2.75” from the LEFT.

3. Cut CS #2 8.5 x 3”
4. Score at 4.25” (middle)

5. Adhere CS #2 to CS #1 as shown.
6. Flip the whole thing over and lay face down.

7. Cut patterned paper #1 to 3 x 4.25”
8. Cut patterned paper #2 to 2.75 x 4.25”
9. Adhere to card as shown to the left.

10. Flip back over and fold as shown to right.

11. Cut solid dark CS to 3 3/16 x2 7/8”
12. Cut solid light CS to 2 3/16×2 15/16”
13. Mount light CS on dark CS as shown to left.
14. Create a small sentiment as shown:
15. Adhere parts as shown below. Adhere the ribbon only to the front of the card. The ribbon will wrap around the back of the card and will tie at the end.


16. Layer your nesting dies upside down on red cardstock for flower.
(You can save time by arranging them as shown and running them through your diecut machine at the same time. Run through your machine and then pop out of the dies.)

17. Lightly sand the scalloped edges of the circles.
18. Use cropodile to attach large brad to smallest flower.
19. Stack up and arrange flowers. Adhere with foam adhesive for dimension.


20. Glam it up with glitter, etc, put a sentiment on the inside, and, “VOILA!” , you’re finished. I used Martha Stewart glitter glue on the brad and then sprinkled Sugar Coating glitter by Doodlebug Designs on the glue. I used Stickles to doodle around the flower petals. Be sure to let dry thoroughly.
8 thoughts on “Multi Fold {Flip, Flap, Fold} Card Tutorial”
I LOVE this, Erin! Pretty paper (check), great colors (check), cool flower (check), sparkle (check), dimension (check)…and even a tutorial (check, check) — you’ve got it all here! tsmfs!
Adorable card! Thanks for the tutorial!
what a fun card! My girls would probably love this taught to them! Thanks for sharing
fabulously darling!Thanks for the great tutorial!
WOW…super cute. You are so talented! 🙂
Thanks for your tutorial!I had no idea how to make these!
Nice blog you got here. It would be great to read a bit more concerning that matter. Thanx for giving this material.
The only thing this blog miss is such photo like on california escorts 🙂
Sexy Lady
High Class Escorts
Nice blog you got here. It would be great to read a bit more concerning that matter. Thanx for giving this material.The only thing this blog miss is such photo like on california escorts :)Sexy LadyHigh Class Escorts